
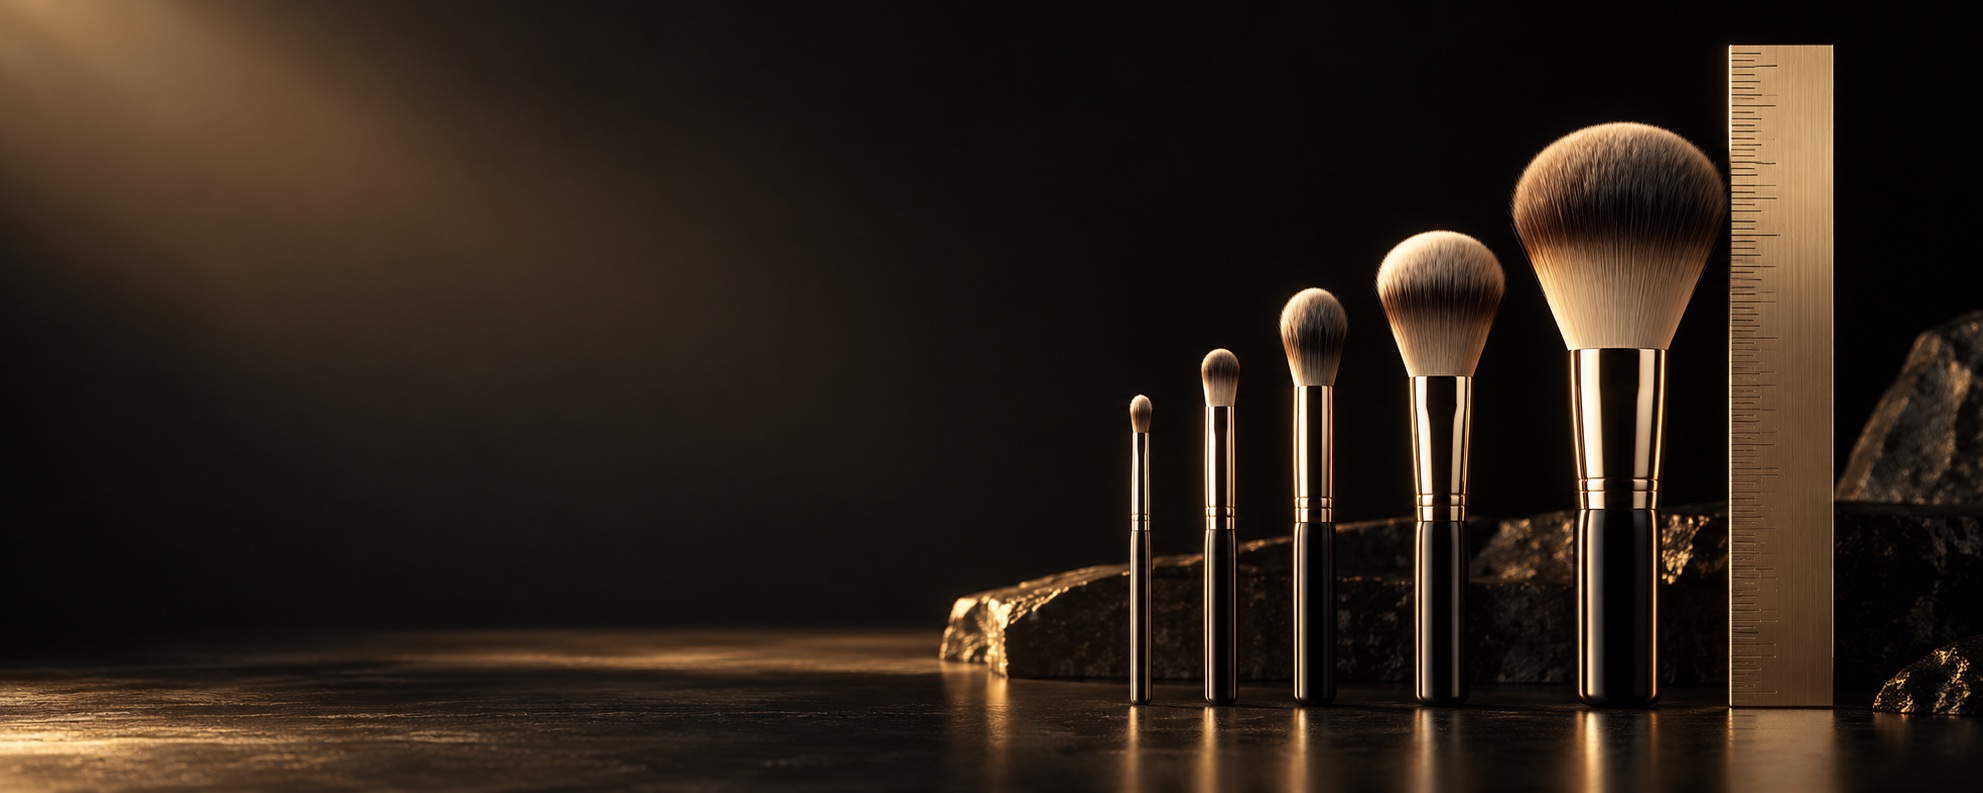
A makeup brush is assembled from several parts that need to work together: a shaped bristle head, a ferrule that holds the head, a handle, and the finishing details that identify the product. The exact route varies with brush design, materials and construction, but understanding the main steps helps a brand team prepare a useful brief and review a sample.
This guide describes a typical process at a high level. It is not a fixed recipe for every brush: some designs require different operations, and project specifications determine the details. HEXUE's production process overview shows factory process stages, while the sections below explain what a buyer can define or approve at each stage.
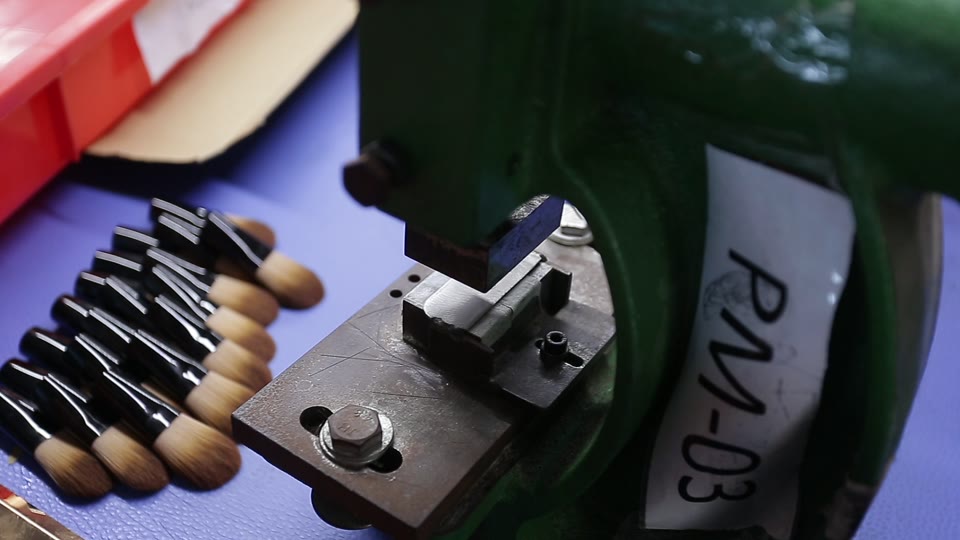
1. Define the brush before production
Production starts with a product reference: a drawing, an existing brush, a sample or a written brief. The team needs to identify the intended brush type, head shape, dimensions, bristle material, handle, ferrule, logo treatment and packaging scope. If details are still open, list them as decisions rather than treating an image as a complete specification.
For a new range, buyers can first decide which applications and shapes belong in the assortment. The makeup brush set planning guide can help define that range before individual specifications are finalised.
2. Select and prepare the bristle material
The bristle choice depends on the agreed product brief. A project may use synthetic filaments or a selected natural-hair option; the exact material and grade should be recorded for each brush. Supplier descriptions can use broad terms, so buyers should request the precise material specification they need and confirm any animal-origin, vegan or market-specific requirements before approval.
Material selection is only one part of performance. Shape, length, density, arrangement and finishing also affect how a head looks and feels. Review these details on the actual sample rather than assuming a material name defines the finished brush. See the makeup brush bristle selection guide for a separate material comparison.
3. Form the brush head
Filaments are gathered and arranged to create the planned head shape. The amount of material, its distribution and the bundle's profile contribute to the finished silhouette. Round, angled, flat and detail heads each require their own target shape and dimensions.
At this point, the reference should make clear what the team is trying to reproduce. A side view can help show length and taper; a top view can show the outline. Buyers can record the key measurements in the makeup brush size guide format and mark which values are confirmed on a physical sample.
4. Fit the ferrule and secure the head
The shaped bundle is fitted into the ferrule, the metal or other specified connector between the brush head and handle. The ferrule's dimensions, shape, material, finish and fit all need to suit the design. The assembled head must also match the agreed position and orientation.
Do not rely on appearance alone to approve this joint. Include it in the sample review and ask the supplier which checks apply to the project. The sample checklist explains how to document appearance and basic assembly observations.
5. Shape, trim and finish the head
After assembly, the head may be shaped or trimmed to meet its intended outline. The final profile depends on the design: a flat shader, tapered blending brush and broad powder brush should not be judged against the same shape reference. Agree the visual standard on a sample and review the finished head from more than one angle.
6. Attach and finish the handle
The handle is joined to the ferrule assembly, then checked against the specified length, profile and finish. A project may also include a custom handle color, logo or decorative treatment. These choices should be captured in the artwork or product specification so the placement and appearance can be reviewed before a production run.
When the design combines buyer-supplied and supplier-developed elements, record who owns each open decision. The OEM vs ODM guide explains how to clarify development and approval responsibilities.
7. Clean, inspect and pack
Before packing, brushes go through finishing and inspection steps appropriate to the order. A brand should agree what will be checked, what sample or specification serves as the reference, and how any non-matching item is handled. Quality requirements belong in the project documents; a general manufacturing overview cannot replace an order-specific inspection plan.
Packing follows the approved configuration. For a set, the brush count, accessories, protective materials and pack layout should match the SKU brief. Make sure the packaging artwork and physical fit have both been reviewed; use the brush packaging brief checklist to organise those details.
What a buyer should approve
Before production, keep a version-controlled record of the approved brush and its open points. It should identify the brush shape and measurements, material, ferrule and handle details, logo artwork, packaging configuration and the sample used as the reference. If the team changes one of those decisions later, record the revision and confirm whether another approval is needed.
- Identify each brush and its intended use in the range.
- Separate confirmed specifications from estimates and pending choices.
- Review the complete assembled brush, not only individual components.
- Agree how sample observations and production inspection requirements will be recorded.
- Confirm which pack components and accessories belong to each SKU.
The manufacturing sequence gives your team a map for the conversation. For a project-specific plan, share the brush reference, target application, artwork and packaging direction through the HEXUE enquiry form. Material availability, minimum order quantities and timing are confirmed for each project.