
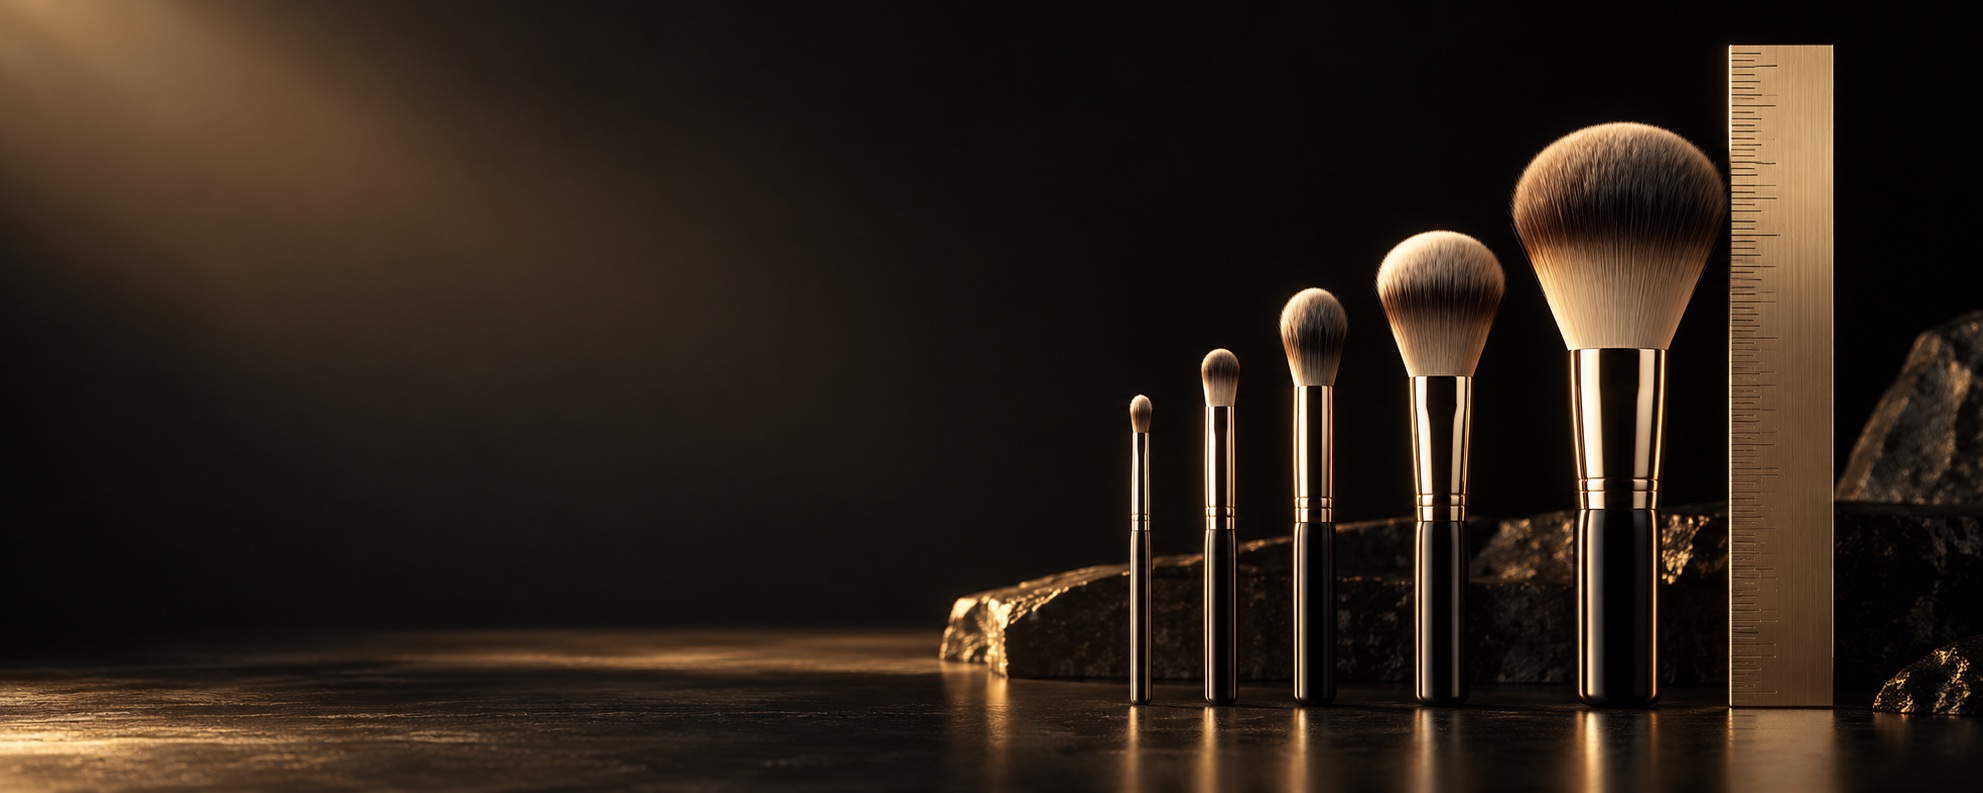
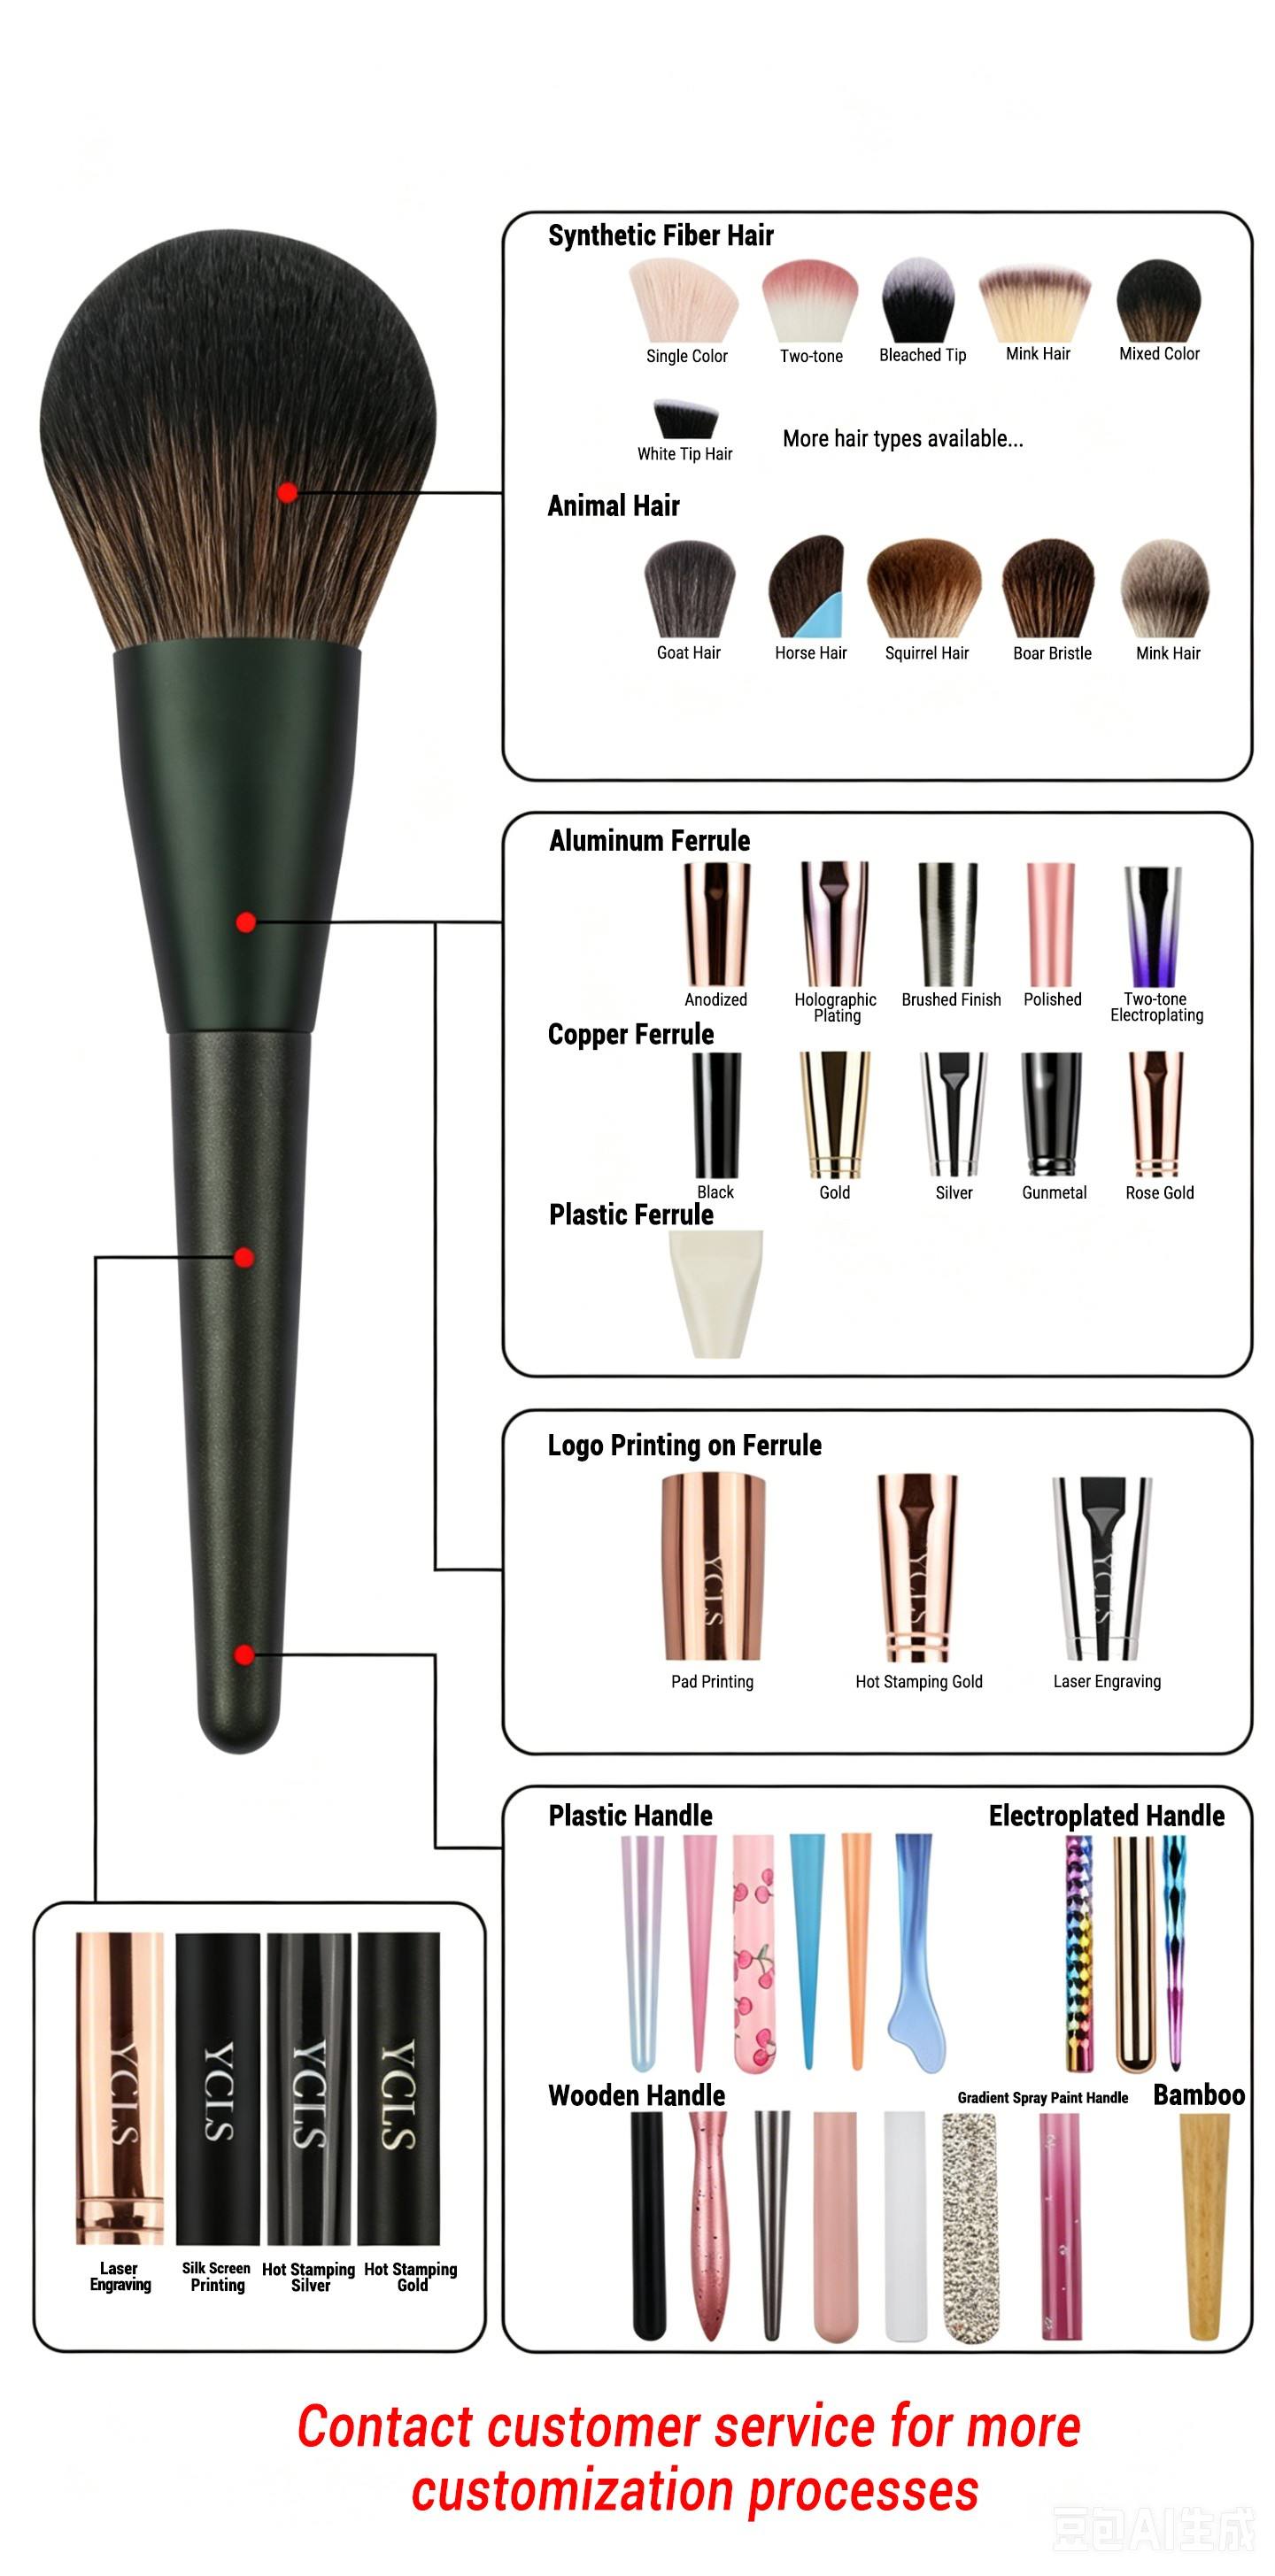
A custom makeup brush is a set of connected decisions. The brush head, ferrule, handle and logo treatment each affect the look and specification a brand approves. A useful brief describes those parts separately, then shows how they work together in the finished brush. This guide uses the supplied customization illustration as a visual reference. The options pictured are starting points for discussion; the available construction, materials, finishes and decoration must be confirmed for the selected model and project.
Begin with the brush head and fibre specification
Start by defining the brush’s intended application and the head shape that supports it. Record the shape, dimensions, density direction and the portion of the head that matters to your use case. If the brief is still at concept stage, provide a reference image and ask the product team to identify which details need a sample review.
The illustration groups synthetic-fibre appearances and animal-hair examples. Treat those labels as material categories to discuss, not as a guarantee that every type is suitable or available for every brush. Specify the fibre category you want to evaluate, note any market or brand requirements, and confirm the exact material by brush. Our makeup brush bristle guide explains how to structure a fibre decision; the approved sample should remain the reference for the chosen configuration.
Choose the ferrule material, shape and finish together
The ferrule connects the head and handle and is also one of the most visible parts of the brush. A specification can identify the ferrule material or construction under review, its shape and dimensions, and the appearance expected on the finished item. The supplied visual shows aluminum, copper and plastic ferrule examples, alongside several surface finishes. Confirm the feasible material and finish combination for the selected brush rather than treating every pictured combination as interchangeable.
For a clearer comparison, ask for a reference that identifies the finish, colour and ferrule shape as separate choices. Record whether the finish should be consistent across the range or vary by brush. When reviewing a sample, compare it with the agreed reference under consistent lighting and note any change requested before approval.
Plan the handle around the range and customer
Handle choices combine shape, length, material, colour and surface appearance. The illustration shows examples of plastic, wood and bamboo handles, as well as colored, sprayed and electroplated appearances. Those are visual references, not a statement that each material or coating is suitable for every design. Confirm the selected construction with the factory before finalizing the range.
Decide first whether your priority is a shared handle family across several brush shapes or a distinct look for a hero item. Provide a target color reference where color matters, and identify the handle dimensions that should remain consistent across the range. Our brush size guide can help your team record ferrule and handle measurements in a consistent way.
Select a logo method and placement
The image includes pad printing, hot stamping and laser engraving examples on a ferrule, plus several handle logo treatments. A useful logo brief specifies the component, approximate location, artwork version, color or finish direction and the technique you want to review. If you are comparing methods, request a visual or sample for the actual surface and component being considered.
Do not assume that the same artwork will look identical on a coated handle, a metal ferrule and a curved surface. Keep the approved artwork file and the approved sample reference together. If a logo moves or changes after sampling, record the revision and confirm whether another proof or sample is needed.
Keep the options coordinated, not isolated
Each component affects the overall design brief. A handle color should be reviewed with the ferrule finish and logo treatment; the head shape and fibre direction should be reviewed with the intended brush role. For a multi-piece range, mark which choices are shared across the set and which may vary by SKU. This avoids a quotation that looks complete but leaves important differences between brushes unresolved.
A simple decision table can list each brush, head shape, fibre category, ferrule reference, handle reference, logo method and approval status. Mark unknown values as open questions instead of filling them with assumptions. The makeup brush RFQ checklist can help organize the information for a supplier enquiry.
Use sampling to confirm the specification
Once the preferred configuration is clear, request a sample that represents the components and decoration under review. Evaluate the brush against the intended application and compare the visible details with the written brief. Record the sample version, observations and requested changes. The sample review checklist provides a practical structure for that approval step.
HEXUE’s factory and production process overview shows how brush components move through production. The custom makeup brush page outlines the project variables to discuss, while the OEM/ODM page explains how a brief can move into development. Options, MOQ, price, sample terms and timing are confirmed for the specific project.
What to include in your first customization brief
- The target brush use and preferred head shape
- Fibre category or reference material to evaluate
- Ferrule shape, dimensions, material and finish direction
- Handle material, dimensions, color and surface appearance
- Logo file, location and decoration method to review
- Which choices should be shared across the range
- Reference images, target market and sample approval contact
You do not need every detail finalized before starting a conversation. Separate confirmed choices from open questions, then ask the factory to review the proposed combination for the selected brush. Send the brief through the HEXUE project enquiry page to discuss the next step.